13" MacBook Airport Card Replacement
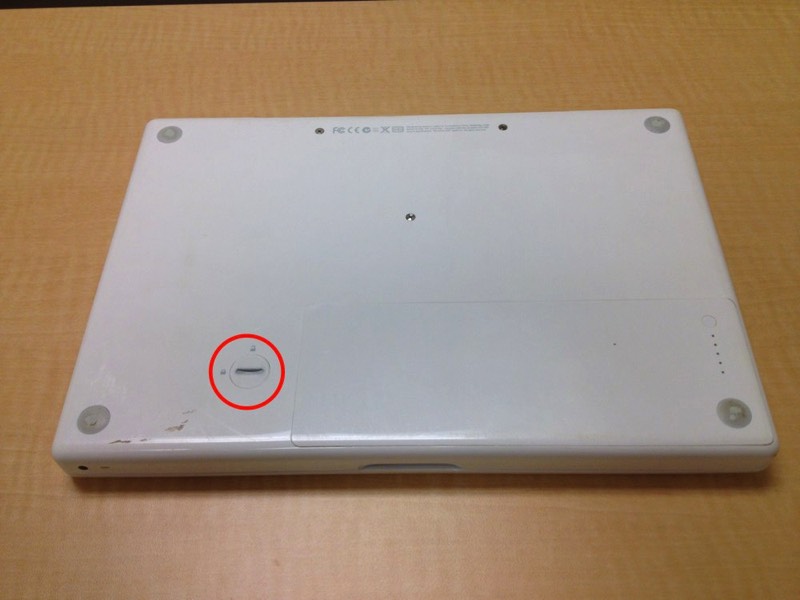
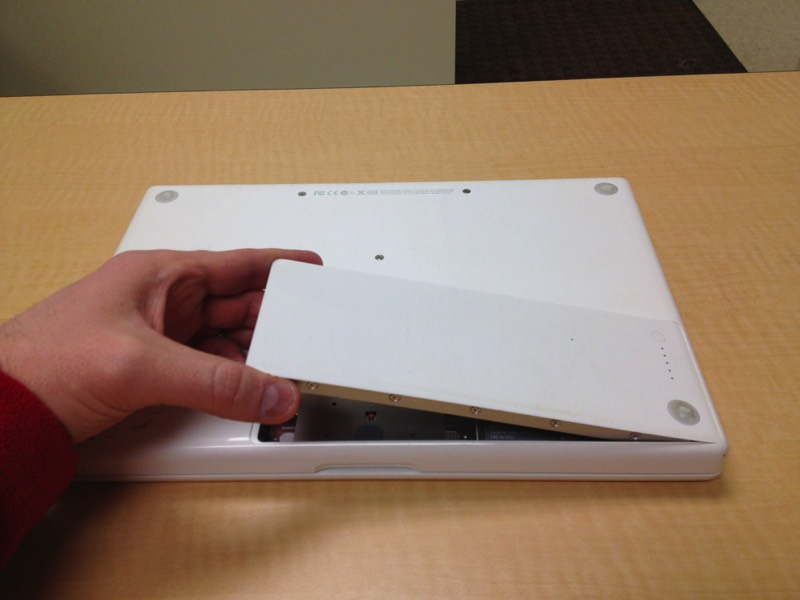
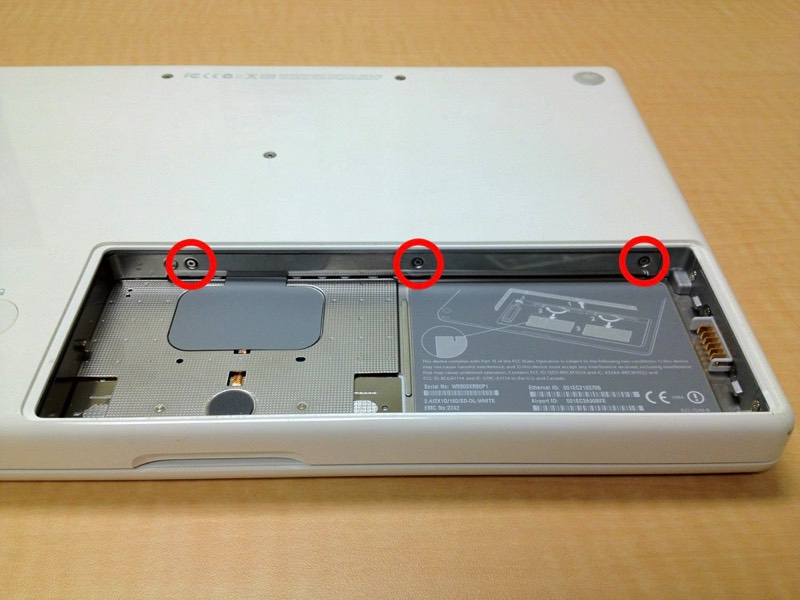
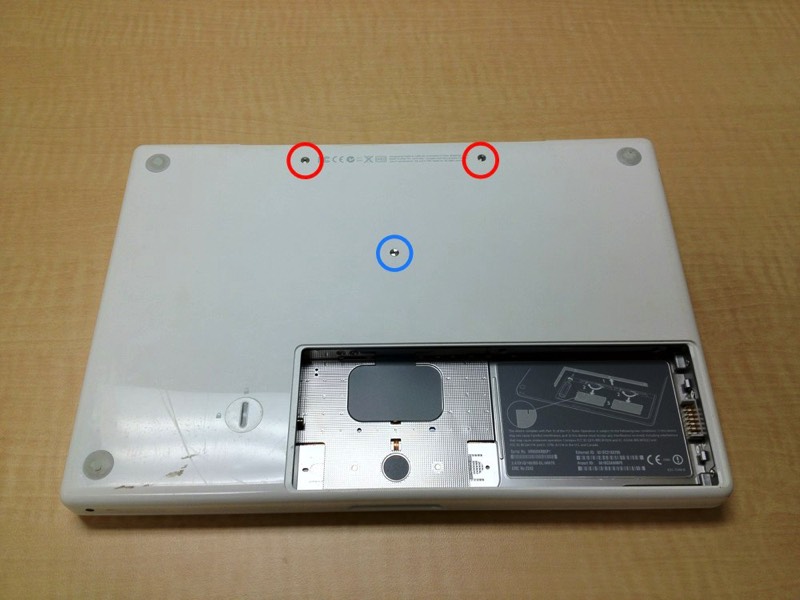
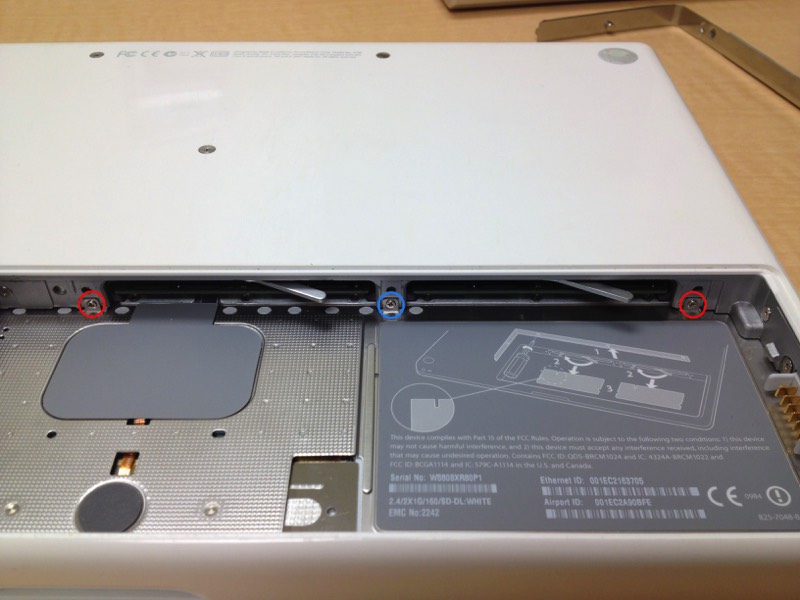
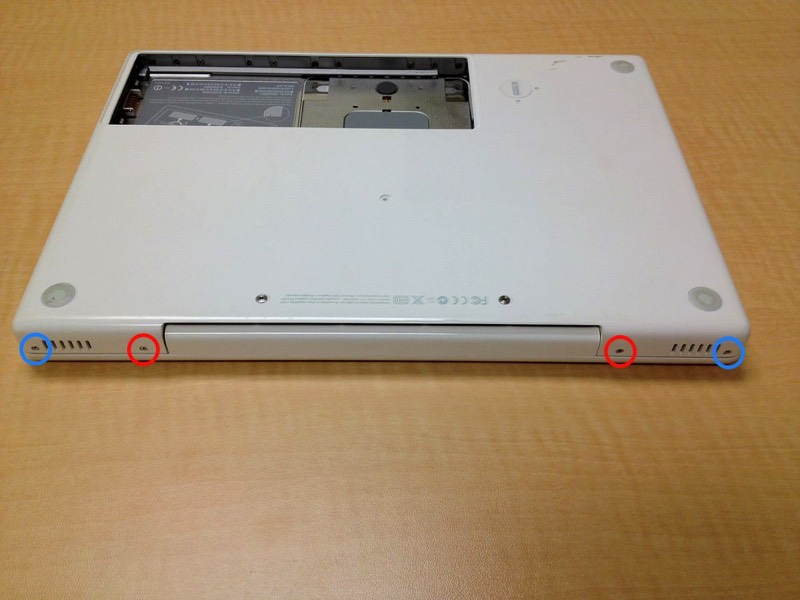
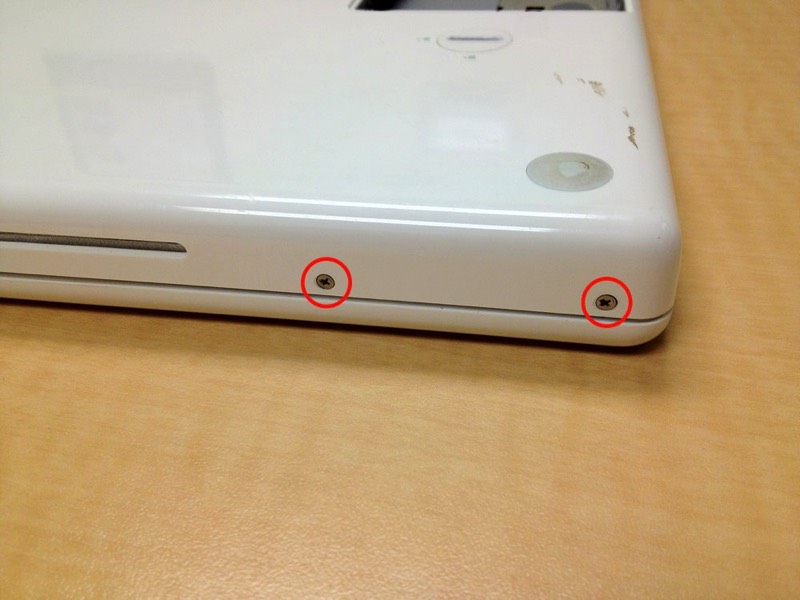
Look on the bottom of the case and remove three Phillips screws. The two screws in the rear are 14.5 mm and the center screw is 11 mm.
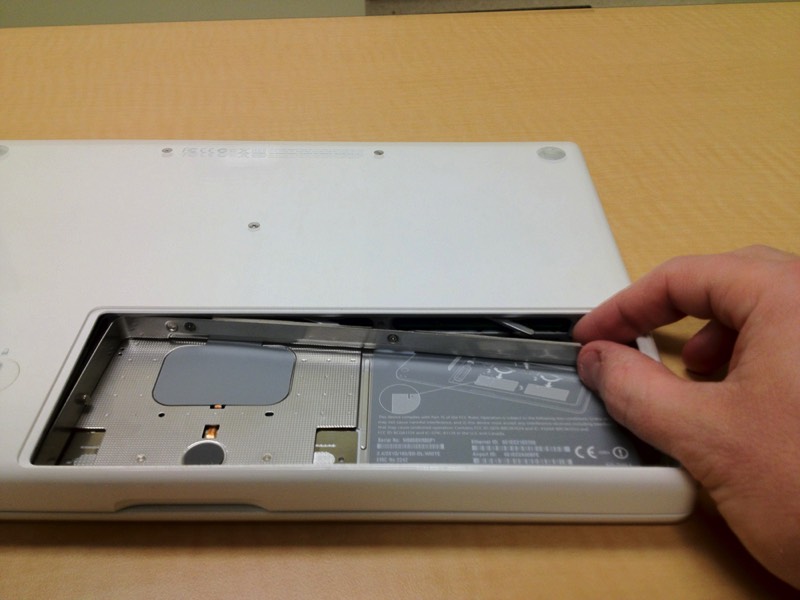
The two rear screws, 14.5 mm, may or may not come out of the case easily. If you can use a magnet, tweezers, or leave them in. If you leave them in just be 100% certain they are fully loosened.
The two rear screws, 14.5 mm, may or may not come out of the case easily. If you can use a magnet, tweezers, or leave them in. If you leave them in just be 100% certain they are fully loosened.
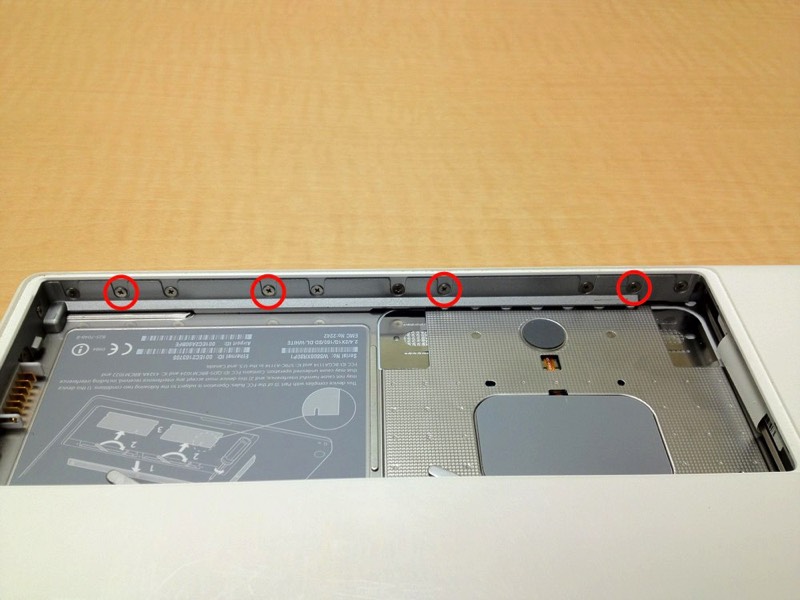
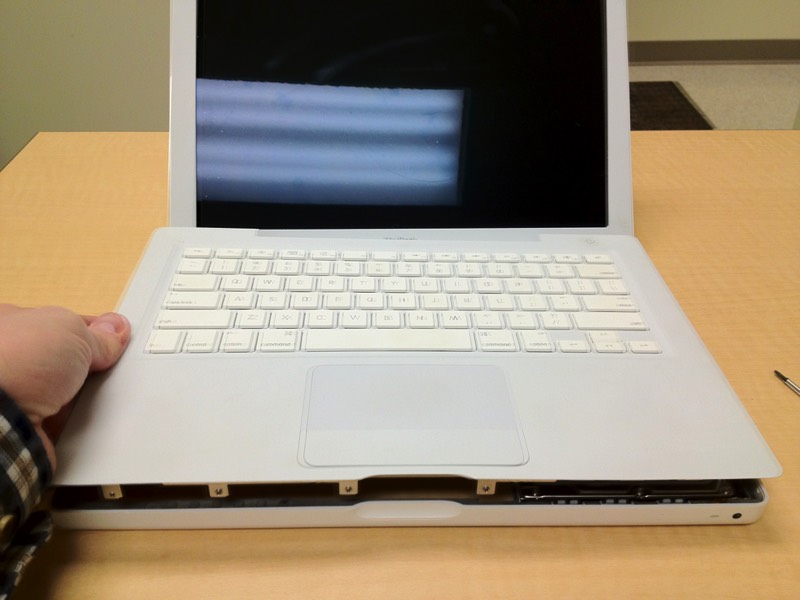
Gently pry the keyboard upward starting at the rear, near the screen, working your way to the front toward the track pad. The keyboard may stick over the top of the optical drive. If this happens, pry the other three sides free and then pull directly up on the keyboard over the optical drive.
Please be careful as the ribbon cable from the keyboard to the logic board is very short.
Please be careful as the ribbon cable from the keyboard to the logic board is very short.
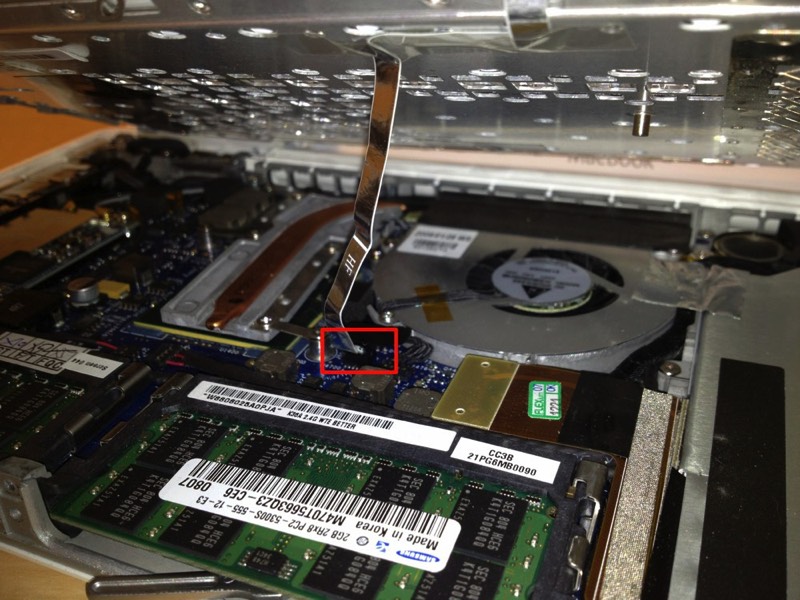
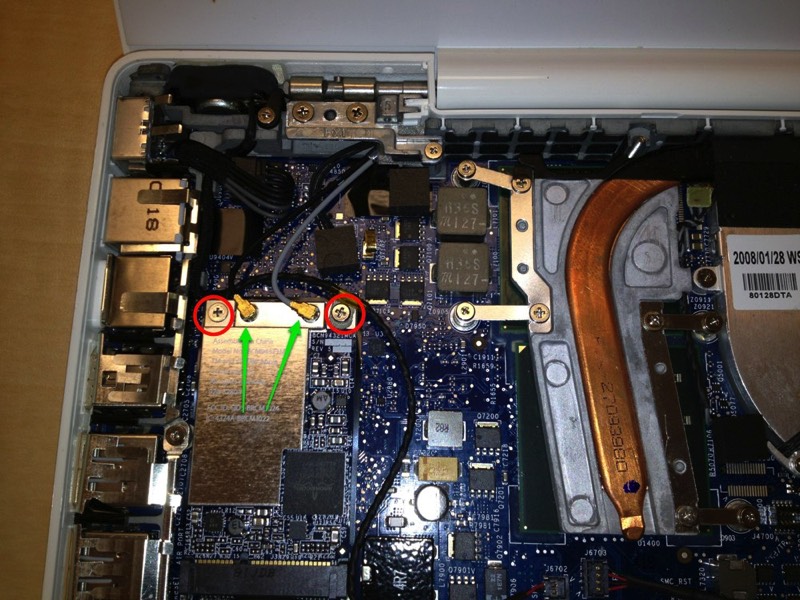
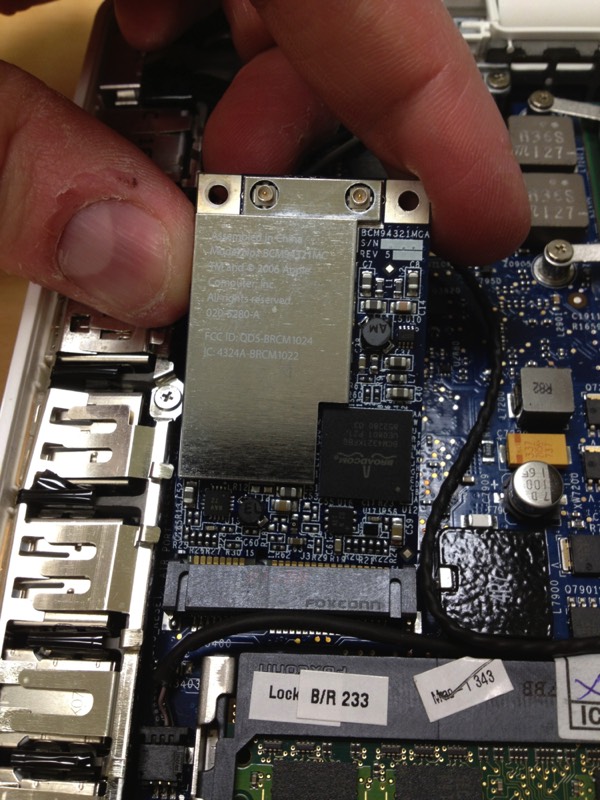
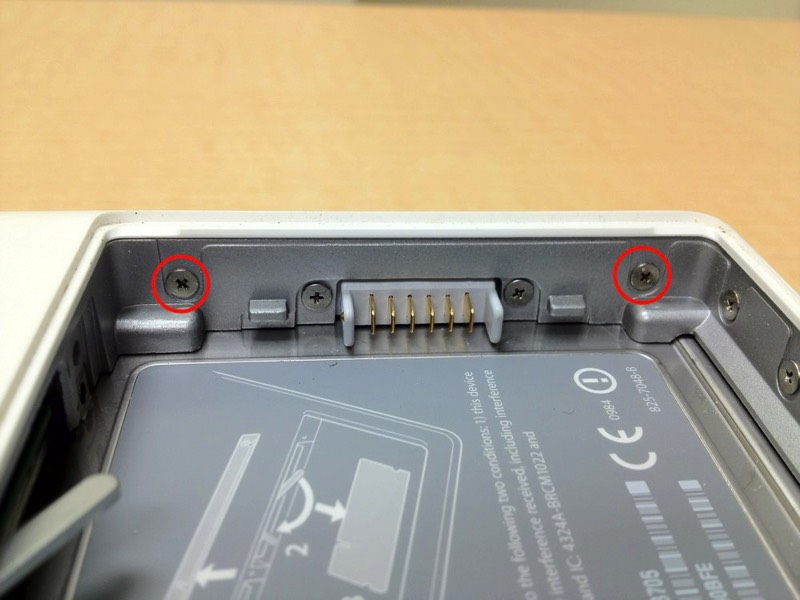
Disconnect the two antenna cables from the Airport Extreme card. On some MacBook Pro Core 2 Duo's there will be three wires. Note the color and order they are in.
On Penryn machines, as pictured to the right, there will be a cable holder attached to the right screw. Be sure you put this back on top of the airport card as it was originally installed.
On Penryn machines, as pictured to the right, there will be a cable holder attached to the right screw. Be sure you put this back on top of the airport card as it was originally installed.