Conversational Mirror Swap
Tools Needed
Ratchet
Extension
8mm socket
Tiny pry tool
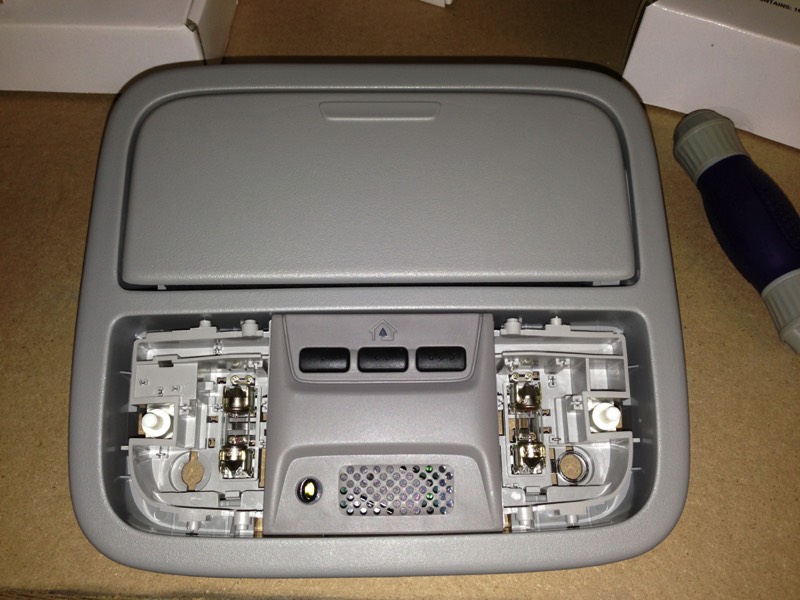
Console Assembly Roof (Clear Gray) 83250-SHJ-A03ZB
This part is for a 2006 Honda Odyssey Minivan
Ratchet
Extension
8mm socket
Tiny pry tool
Console Assembly Roof (Clear Gray) 83250-SHJ-A03ZB
This part is for a 2006 Honda Odyssey Minivan
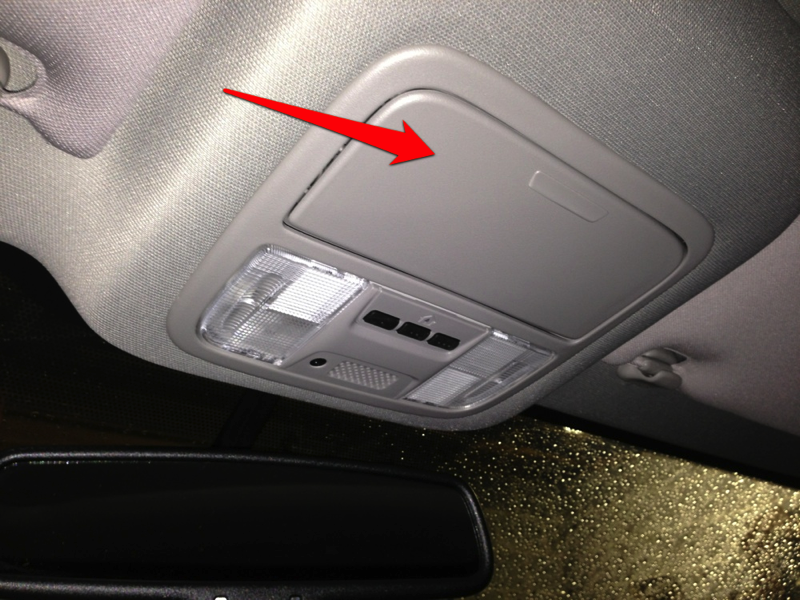
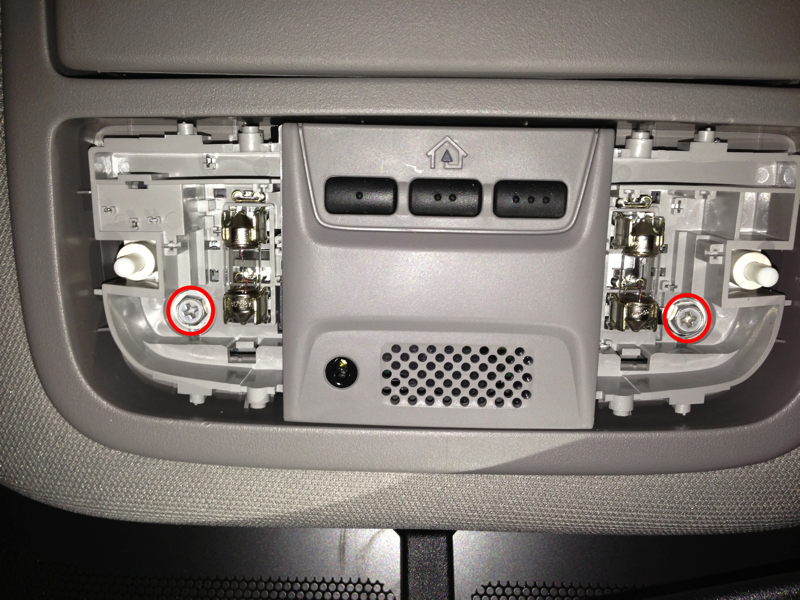
Locate and open the overhead sunglass holder. Empty the compartment.
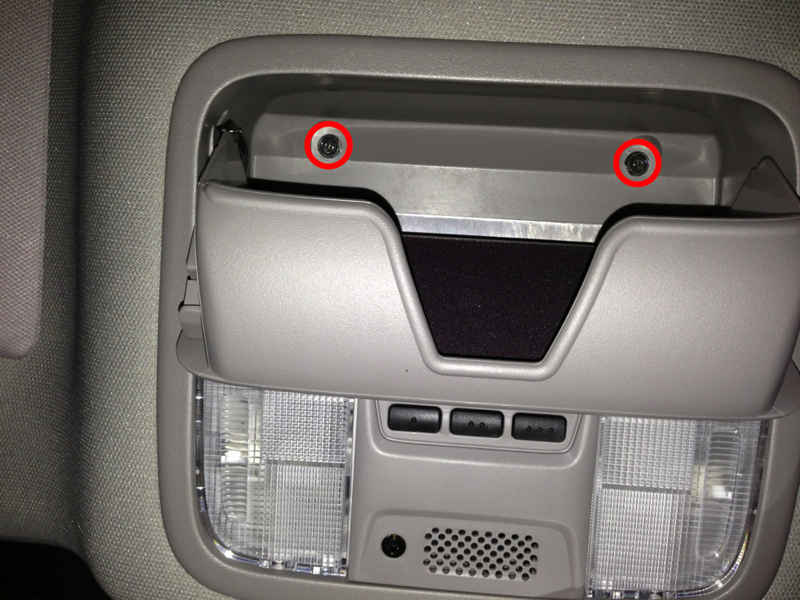
Remove two screws using an 8mm socket.
When tightening these screws back up on the reassemble, a light snug is good enough. I was able to loosen them by hand with just a socket and extension. I did not even need a ratchet.
When tightening these screws back up on the reassemble, a light snug is good enough. I was able to loosen them by hand with just a socket and extension. I did not even need a ratchet.
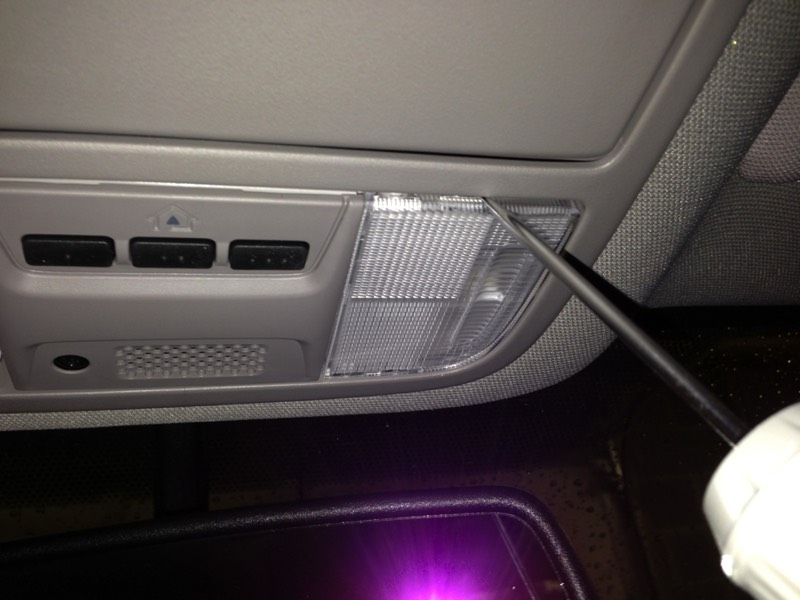
Remove the clear plastic bulb covers using a slim tool. A straight tool was used here.
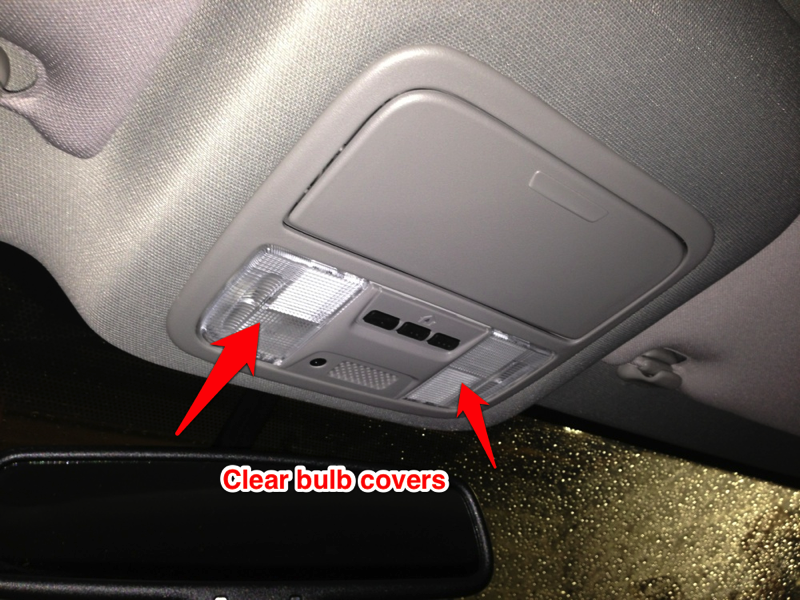
Remove two screws using an 8mm socket from each bulb compartment.
When reassembling tighten these screws to snug. No need to strip them out.
When reassembling tighten these screws to snug. No need to strip them out.
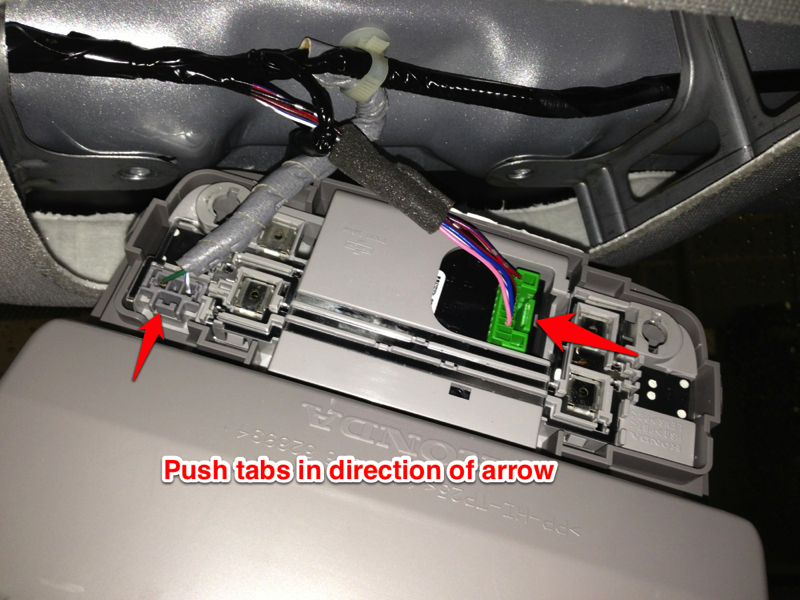
Using your hands, gently pull the entire assembly out. Be careful as there are two wires that will still need to be disconnected.
With the assembly out, push the tabs toward the wires and disconnect them.
With the assembly out, push the tabs toward the wires and disconnect them.
Push out the bulb assembly and garage remote from the console assembly. It should come close to falling out on its own. Just push it from the backside toward the finished side.
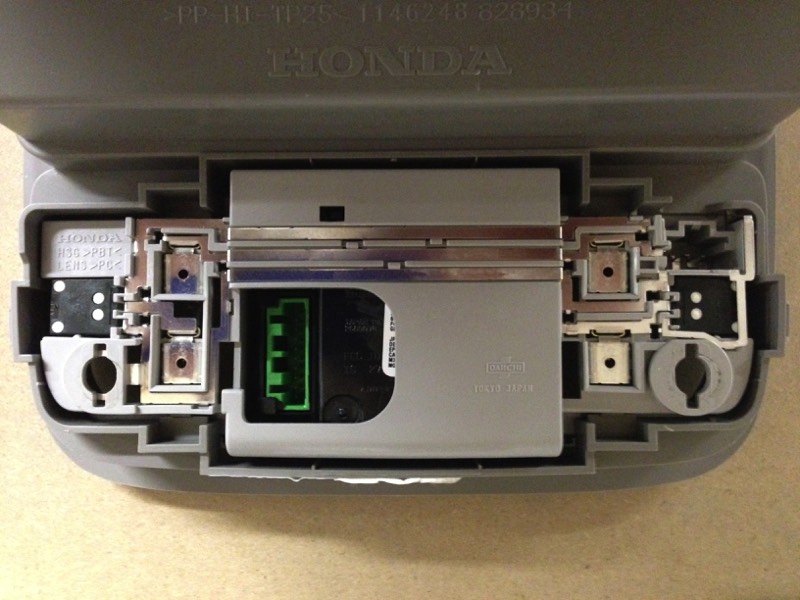
Doing the opposite, take the bulb assembly and garage remote and pop them into the new console assembly. You can tell a slight color variation between the two. It's not perfect but you can't notice it inside the truck after it is installed unless you get out the bright lights and study it.
Reassemble in reverse order.