TH400 Conversion from M6
Transmission Cooler Line Routing
Transmission Cooler Line Routing


Tools Needed
Knife
Cutters
All kinds of stuff
Knife
Cutters
All kinds of stuff
Parts List
Hose
Fittings
Heat Wrap
Zip Ties
Hose
Fittings
Heat Wrap
Zip Ties
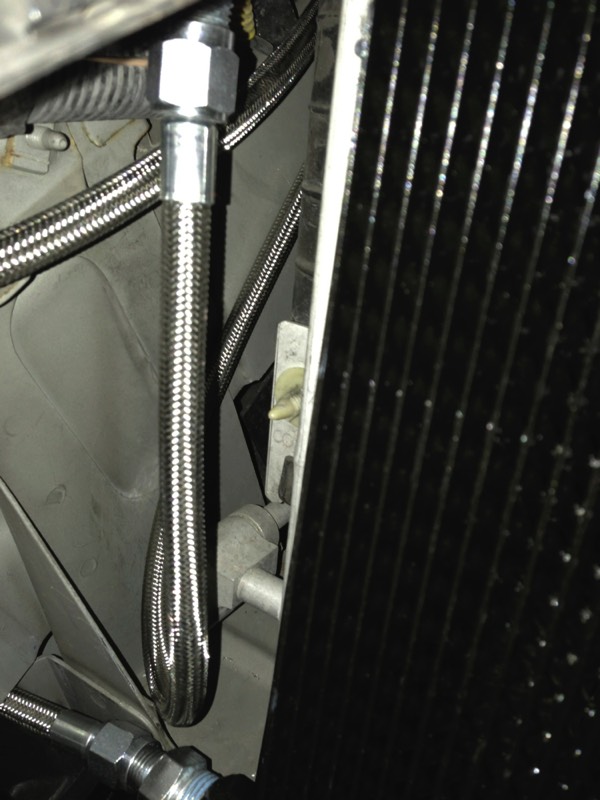
Once mounted, I ran a tubing from the transmission cooler to the transmission. I marked my measurements and then ordered the best known hoses made on planet Earth for automotive transmission applications. Ormes.com took great care of me and gave me a teflon hose with stainless steel braiding that is rated fro 2500 psi and 400 F.
Two hoses being 80" and 74" in length set me back a grand total of ~ $41 plush shipping and handling. Wow! Who knew you could still purchase top of the line for next to nothing?
I decided on a different route for my hoses, the posted here, and I would offer these suggestions.
The 80" long hose worked great for the lower the fitting.
Instead of ordering a 74" long hose I would order one that is 90" or even 92" in length to avoid the weird 120 degree bend shown on the high side of the B&M transmission cooler.

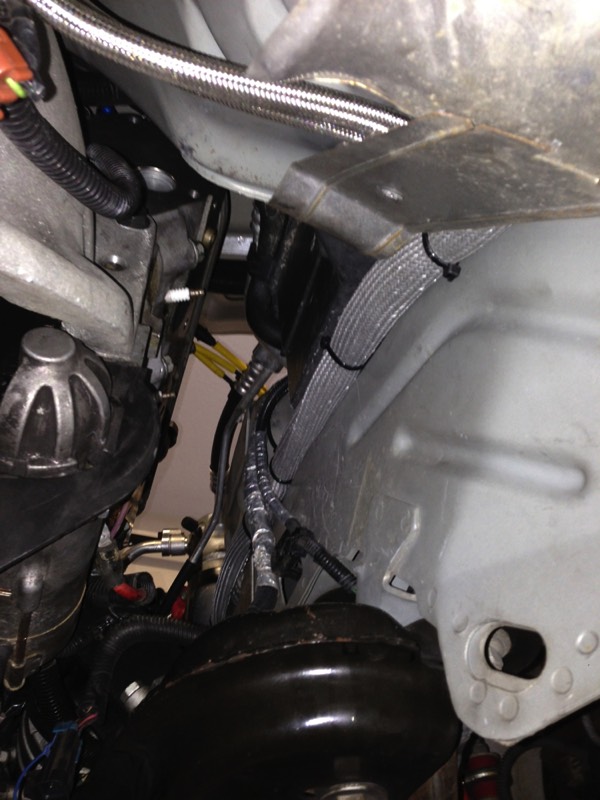
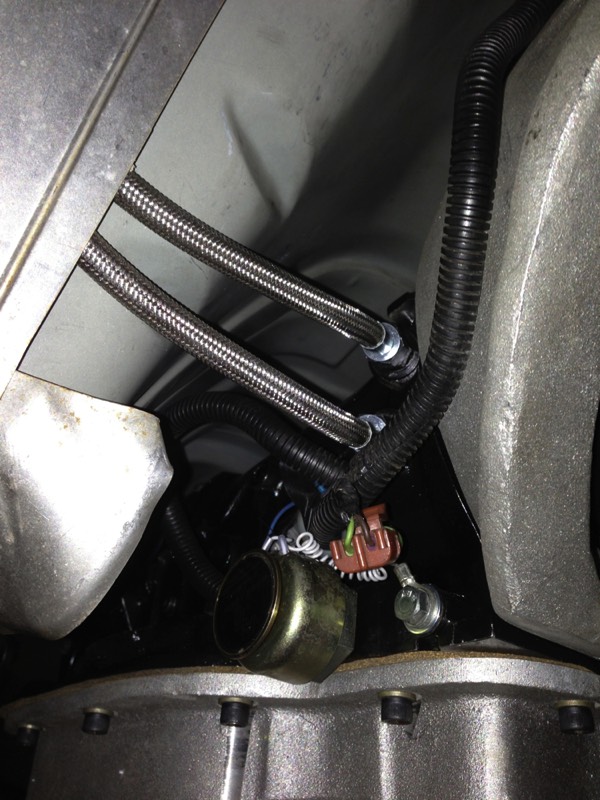
I am just going to show several photographs showing the routing. Both hoses are inside a heat shield mesh flexible tubing. Zip tied to compact the space and zip tied to the AC lines to make sure it doesn't move.
Pay special attention to the wire that runs vertical downward from your PCM to your starter. It may come close to the header tubes and you want to be sure it has at least 1/2" of clearance. It will be the wire loom wrapped in heat tape from the factory.
Pay special attention to the wire that runs vertical downward from your PCM to your starter. It may come close to the header tubes and you want to be sure it has at least 1/2" of clearance. It will be the wire loom wrapped in heat tape from the factory.
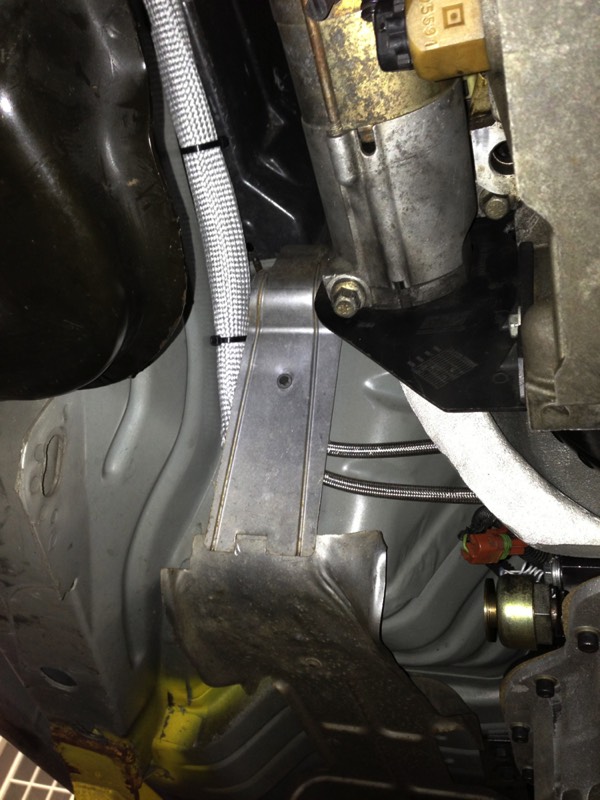
Pay special attention to the wires that run vertical downward from your PCM to your starter. It may come close to the header tubes and you want to be sure it has at least 1/2" of clearance. It will be the wire loom wrapped in heat tape from the factory.