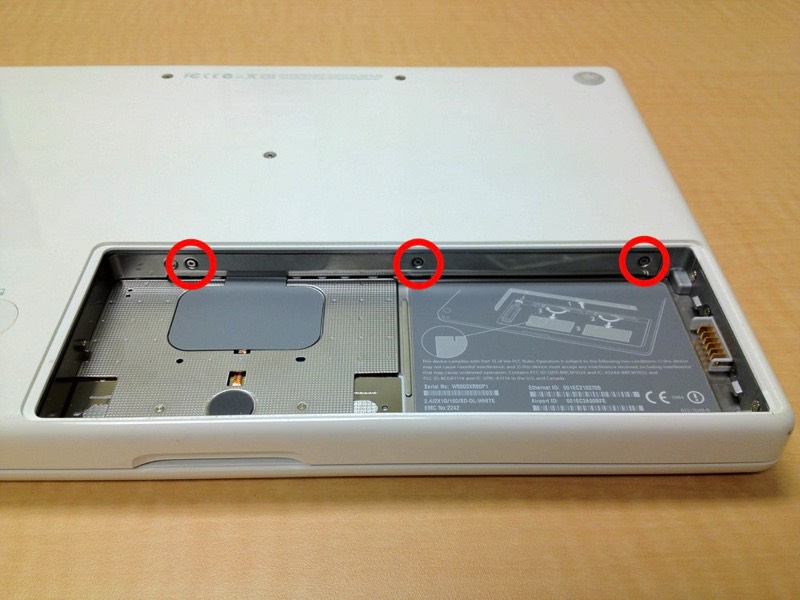
Fully loosen, three Phillips screws along the back of the battery compartment. These three screws are captive and do not come out. They remain in place on the RAM cover.
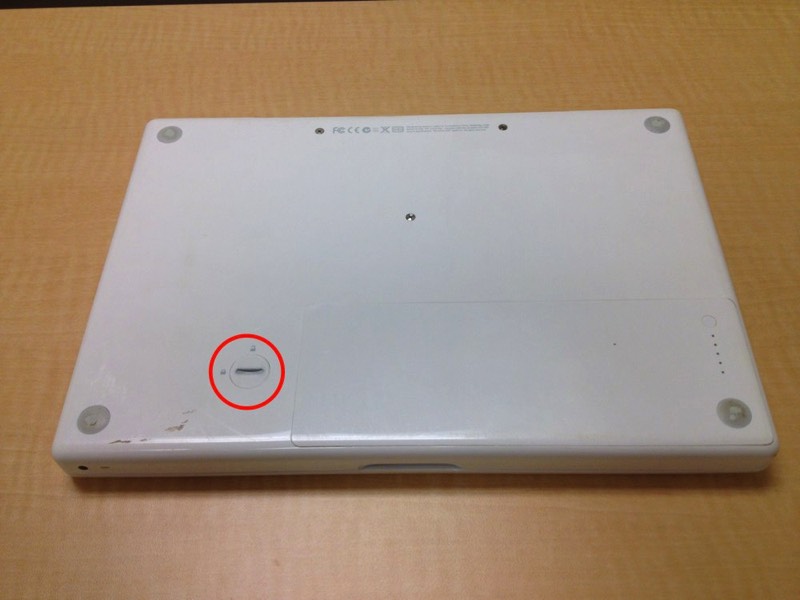
Use a coin and turn the battery lock 90 degrees.
Lift and remove the battery.
Fully loosen, three Phillips screws along the back of the battery compartment. These three screws are captive and do not come out. They remain in place on the RAM cover.
Use a coin and turn the battery lock 90 degrees.
Lift and remove the battery.
Fully loosen, three Phillips screws along the back of the battery compartment. These three screws are captive and do not come out. They remain in place on the RAM cover.
Use a coin and turn the battery lock 90 degrees.
Lift and remove the battery.
Fully loosen, three Phillips screws along the back of the battery compartment. These three screws are captive and do not come out. They remain in place on the RAM cover.
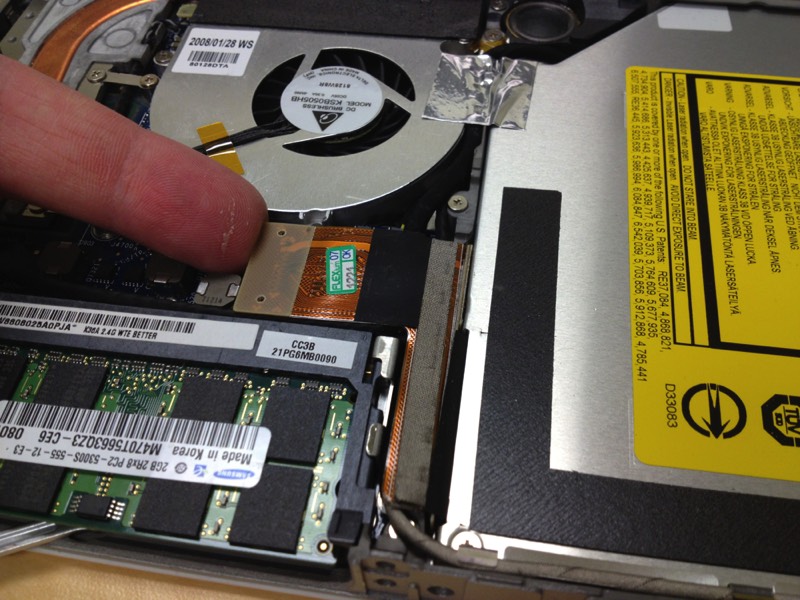
The optical drive ribbon cable needs to be disconnected by lifting up on the connector.
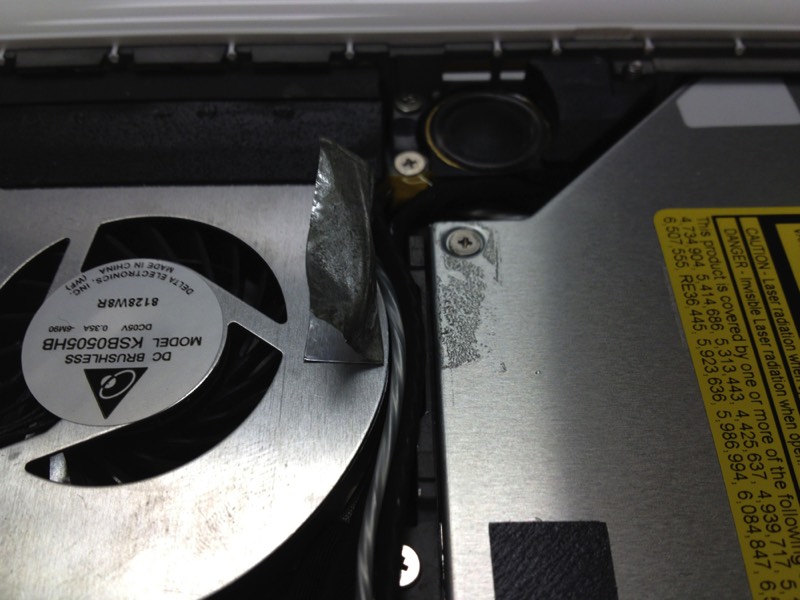
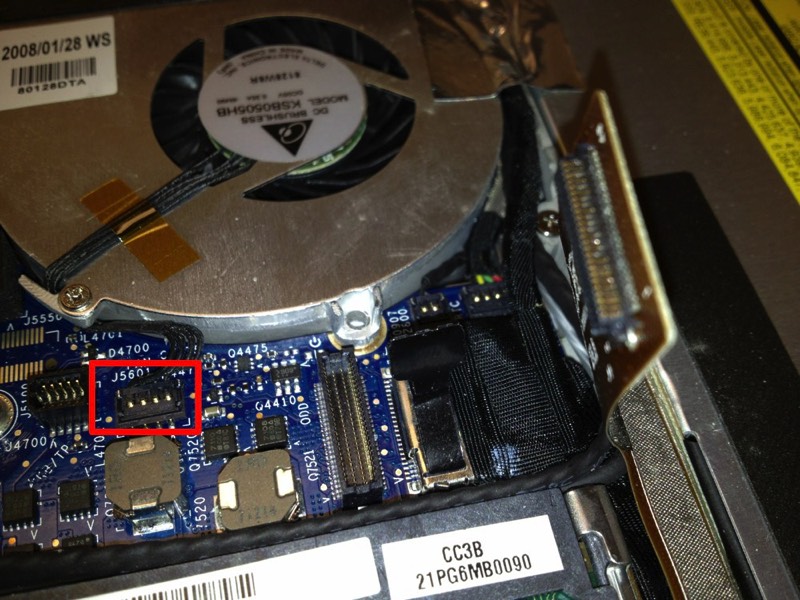
Disconnect the fan cable from the logic board. Then carefully route the fan cable from underneath the fan tab.
Pull back the tape off the optical drive back toward the fan.
Remove two Phillips screws. One 3 mm on the right and one 6 mm on the left.
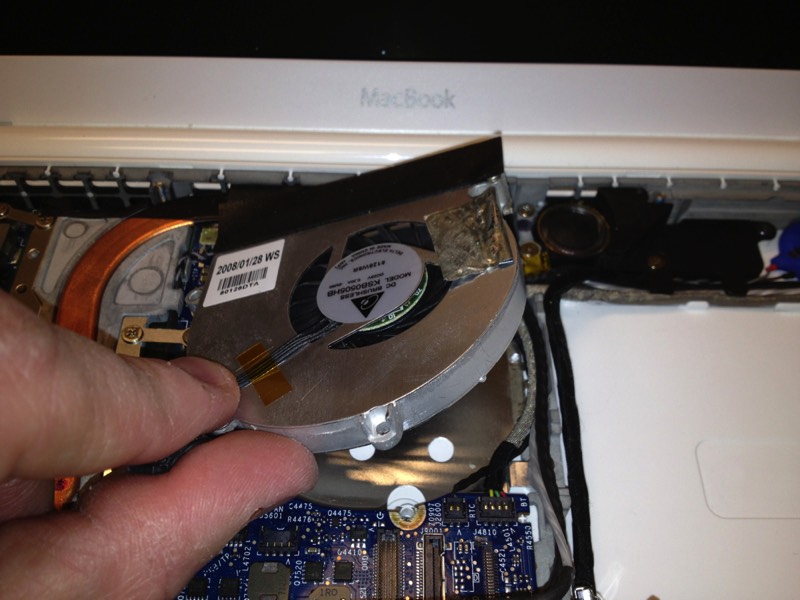
Remove the fan from the case. This involves carefully removing the black tape from the rear of the fan case.
Reassemble this device by following these instructions in reverse order.